|
|
 |
|
|
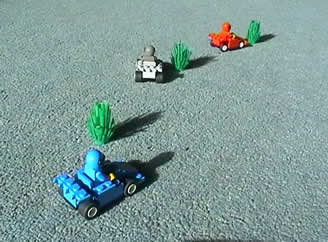
Do you ever wish that you Lego cars could race round a track that was a
little more exciting?
Well you can stop wishing right now as I show you how to create your very own,
customisable race track from nothing more than paper and water (and a few other
things).
So what are you waiting for, read on to find out more...
|
 |
|
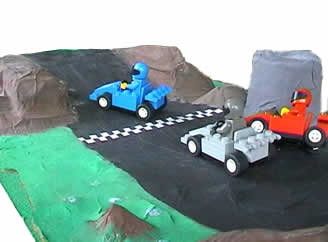
The ramp was designed so that it could be built as a series of 'modules'. If
you built four sections just like it, but with different features on them (say
a tunnel or bridge), and if you kept the road joinings in the same place, you
could slot them all together to make a complete circuit.
At the moment, I have only made one of them, but maybe in the future I will
construct more modules. If I do, I will put them on the site for the world to
see, so watch this space!
|
 |
|
Building the track
First of all, you need to find a piece of wood. I used one 46cm by 19cm (18x11.5
inches). It only needs to be a couple of mm thick, but make sure its not chipboard
or something, it needs to be solid and strong.
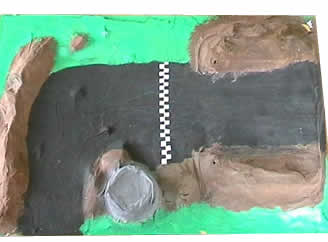
Using a felt tip, mark out roughly where things are going to go. Don't mark
on features that your going to paint on, only mark where you want the land level
to be higher.
|
 |
|
Now it gets really messy...
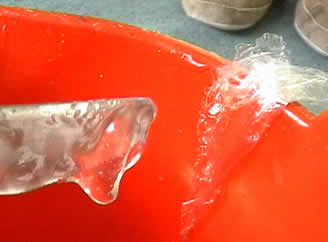
You need to mix up some wallpaper paste using the mixture recommendations on
the back of the packet. I reckon that the consistency should be so that when you
stick your hand right in (I told you it would get messy) and pull it out, it all
stays stuck to your hand, and takes about 5 seconds to ozze down your fingers
and drop into the mixing container.
The best way to do it would be to experiment, you can always add more paste
or water as needed.
|
 |
|
Start by sticking down some objects to help you form the landscape. A yogurt
tub makes a good podium, and you can use cardboard and selotape to form ramps
and jumps. Use balls of newspaper to make rocks and pad out the structures.
Tear up loads of newspaper into small and large strips. Now, there are two
ways to do this. What you need to do is cover the entire model with strips of
newspaper coated in wallpaper paste (maché). You can either gingerly coat
each strip and lay them onto the board one by one, or you can cover the board
and your fingers in a light coating of paste, so that when you pick up each strip
of paper, it will automatically get covered in paste.
Once you have covered the whole model, leave it to dry somewhere warm for about
12 hours.
|
 |
|
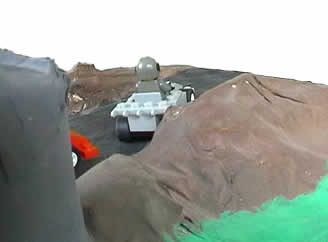
Now for the decorations. Paint the model in whatever colours you want, but
it doesn't need to be complicated, I used just 4 colours on my track. A word of
warning, however. To paint it in a light colour, or even white, you must cover
the model in a second layer of white paper after the newspaper, or the newspaper
will show through.
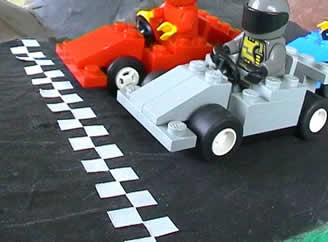
The starting line was built with small squares of white sticker, cut out and
placed across in a zigzag. You can use blu-tack to add bushes and Lego pieces
to the model, or felt tip pens to add fine detail over the paint.
|
 |
|
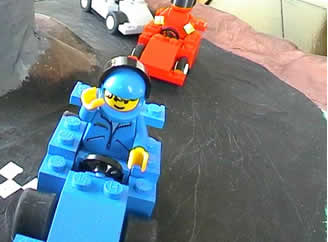
And that's it! Happy racing!
|
 |
|

